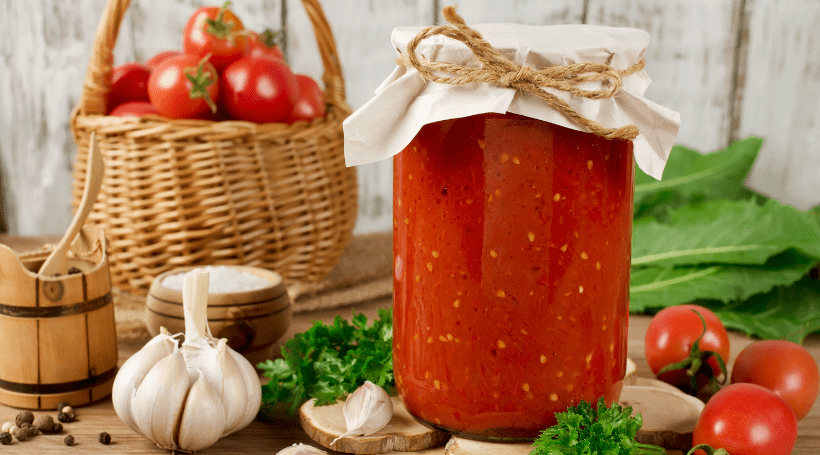
As our gardens deliver lots of those delicious Jersey Fresh tomatoes, we’re met with the age-old question: How am I going to eat all of these? (Unless you’re asking yourself: Why didn’t my tomatoes grow, in which case, we recommend clicking here.)
If you feel you have so many tomatoes that you don’t know what to do with them all, try your hand at canning! It’s an easy way to keep those tomatoes fresh and lasting for years after you harvest. Before we get to the steps, check out a few things to know from SJ Mag’s resident gardener, Toni Farmer.
- This is water bath canning
- There are two types of canning: water bath and pressurized. Pressurized canning is a little more involved, so if you want a quick and easy way to try out canning, stick with water bath – which we’ll be covering here. But an important thing to remember is you can’t put any oil, meat or butter into jars that will be canned via a water bath.
- Fun Fact: Put it up
- If you want to truly feel like your grandmother (or grandfather) while canning your harvest, use the term “put it up.” That’s how people used to refer to canning things.
Alright, on to the canning…
What you’ll need:
5 gallon aluminum pot (one made specifically for canning, it will come with a lid and a metal insert to lift and lower your jars)
Canning kit (we recommend one from the Ball company)
Ball jars (size and quantity is up to you)
Step 1: Boil your water
Fill your 5-gallon aluminum pot ¾ of the way with water (leave the metal insert out) and bring it to a boil
Step 2: Prepare your tomatoes
This is where you can get a little creative. Prepare your tomatoes to go into the jars with salt and herbs to create whatever flavor pallet you prefer. The one thing to remember, says Toni, is to NOT add oil. Adding oil requires pressure canning, and we’re sticking to the water bath canning for this story.
NOTE: Many people will remove the skin and seeds of their tomatoes, says Toni, because they feel it changes the taste. She disagrees, but if you’d like to try it, start by blanching the tomatoes for 5 minutes. Then, peel the skin off and scoop out the seeds.
Step 3: Prepare your jars
You’ll have to sterilize every part of the Ball jars before you start canning. Put every piece in boiling water for 20 minutes. Make sure to use tongs to pull the pieces out and put them on a dish towel to dry. Then, dump the water out.
The great thing about Ball jars is you can continue to reuse them, says Toni. But if you are, you’ll want to buy new lids each time (the flat part you put on top before screwing on the lid). Throughout their use, Ball jar lids can be bent and that will compromise your canning.
Step 4: Fill your jars
Spoon the hot tomatoes – prepared with your chosen seasoning – into the jar(s) with a funnel. The key in this step, says Toni, is to make sure none of the food gets on the jar rim. If there’s food there, it will interfere with the canning process. Before moving on to the next step, be sure to wipe the rims of your jars clean.
Step 5: Add citric acid
Top each of your tomato jars with a sprinkle of citric acid (lemon juice will also work, but that could alter the flavor). Read the instructions on the packet for measurement amounts. And make sure to wipe down your rims again before moving onto the next step.
Step 6: Close the jars
Put the lid on top of the jar and screw the rim on so there’s just enough resistance, says Toni. Tip: put on an oven mitt (the jar will be hot!) and turn the jar upside down. If nothing leaks, you’re good to move on to the next step.
Step 7: Turn up the heat
Lower your jars into the boiling water using the metal insert. Leave them in the water for 25 minutes.
Step 8: Pop!
When the 25 minutes is up, use tongs to pull the jars out and put them on a dish towel. You’ll want to stand by and wait, says Toni, because within a minute you will hear a pop. That’s the center of the jar lid popping and it’s a sign that it’s safely sealed. If a jar doesn’t pop, stick it in the fridge and eat the contents within two days.
Step 9: Label
While these jars are going to last up to a few years, you still want to keep track of how long you’ve had them. Take a sharpie and write the date on each of your jars so you’ll know when they’re expired.


