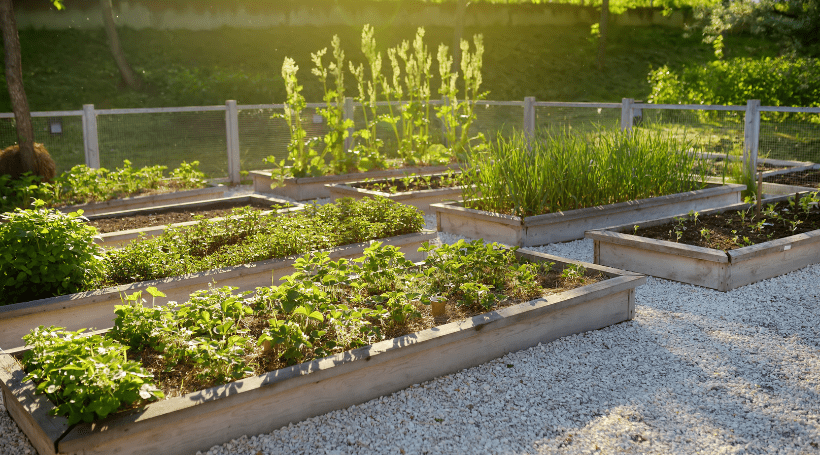
Gardening season is almost here, and we’re getting our green thumbs ready. If you want to take your gardening game up a notch, we’ve got you covered. Check out these steps for building your own raised bed.
What you’ll need:
(2) 2″ x 8″ x 4″ pieces of wood
(2) 2″ x 8″ x 8′ pieces of wood
(8) 3-inch wood screws
Electric drill
Cardboard
Step 1. Lay it all out
Choose an even, hard surface to act as your construction site (don’t worry, no hardhats are required). And lay your four pieces of lumber in a rectangle, with the two long pieces parallel to each other and the two short parallel pieces to each other. You get to choose if at each corner of the bed the short piece will be connected on the inside or the outside of the long pieces, just make sure it’s the same on each side.
Step 2. Pick a side
Gardeners, choose your starting point. Line up your pieces of wood to make the right angle and using a drill, drill two 3-inch wood screws into the outside of the piece of wood so it goes through that and into the other piece of wood. The top screw should be about an inch from the top of the piece of wood, the bottom about an inch from the bottom.
Step 3. Repeat…3 times
Do the same thing for each of the other 3 corners of your bed.
Step 4.
Place your bed in an area where you’ll do your planting – and make sure it gets enough sunlight. Pro tip: before you decide on the final location, consider your yard’s water source and how dedicated you’ll be to hauling a watering can back and forth if you choose not to place the bed within reach of your hose.
Watch how to build a raised bed on “The Goal is to Become a Gardener”


